MOTION WEBCAM SERVICE
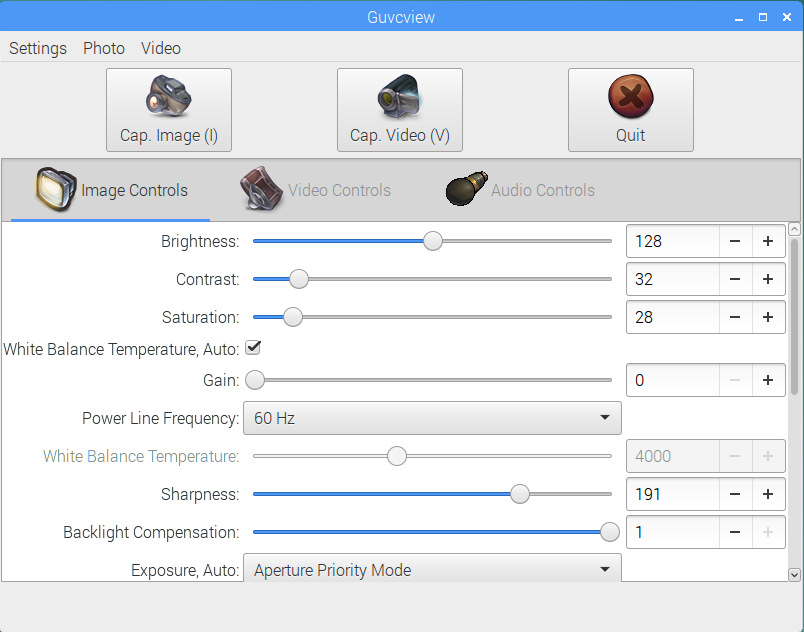
A Live video broadcast from your usb camera to web browser, but before the installation I highly recommended to install guvcview which is it a program for web-cam viewer to see the output video quality.to install the viewer write only this "sudo apt-get install guvcview" after the install shutdown your raspberry and connect your usb web-cam than power it.
you find an icon in the desktop open it and that's it , the program look like the photo below.
installation for motion
open the Linux shell command by clicking on the icon "LDXEterminal" and type in.sudo apt-get update
sudo apt-get upgrade
to update all the packages in your system.Then type the command "lsusb" to list all the usb devices connect it to raspberry pi, if you don't see your camera name in the list that's mean the camera not working will or the camera is not supported in motion.
After finishing the update and seeing your web camera working without any problem, type in the terminal
sudo apt-get install motion
to install motion web camera server.After the installation is complete, type in the command ' sudo nano /etc/motion/motion.conf ' and press enter.
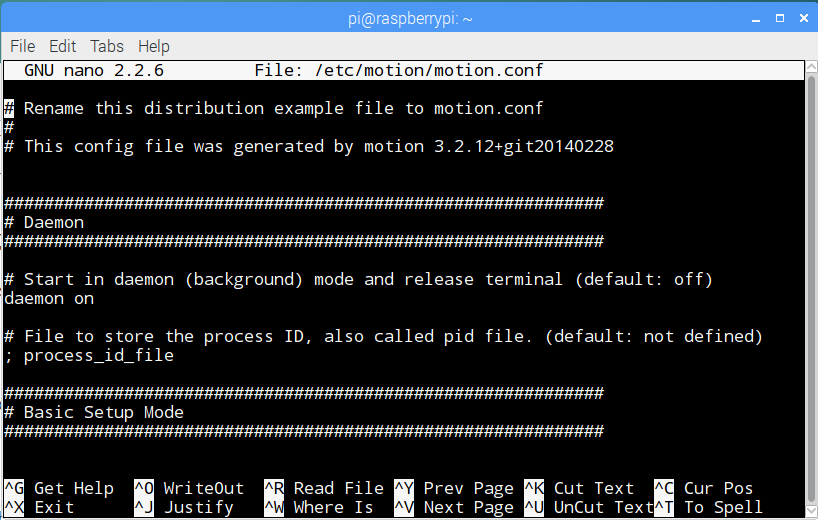
- Make sure 'daemon' is ON.
- Set 'framerate' anywhere in between 2 to 100.
- Keep 'Stream_port' to 8081 but you can chang it to anthor port after the test.
- 'Stream_quality' should be 100.
- Change 'Stream_localhost' to OFF.
- Change 'webcontrol_localhost' to OFF.
- Set 'quality' to 100.
- Set 'width' & 'height' to 640 & 480.
- Set 'post_capture' to 5.
after that activated motion daemon web camera by typing yes instead no.
sudo nano /etc/default/motion
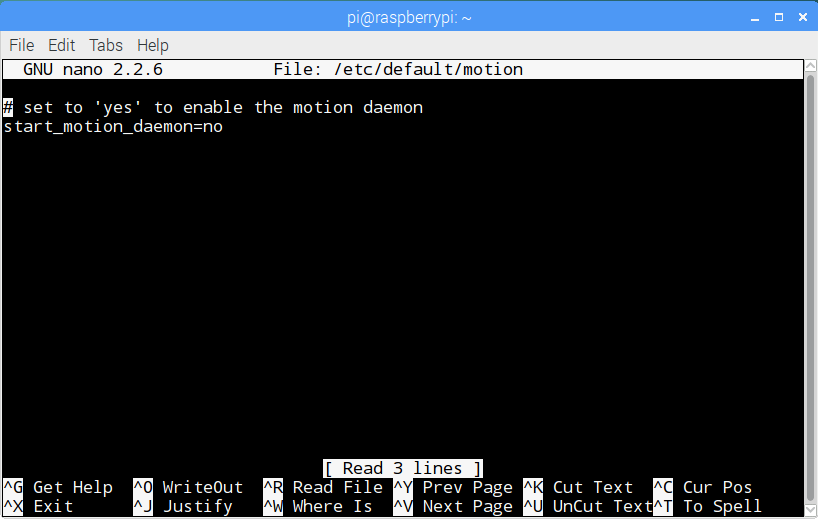 Set ' start_motion_daemon ' to yes, Save and exit and restart the program by the following order.
sudo service motion restart
every time you want start the service type the order.sudo motion
if you want to see camera broadcast, open the browser and type the IP from the raspberry address then a ':', then the port number for example 192.168.1.155:8081.Note: if you don't know the IP address then type in the terminal "hostname -I" to display the IP.
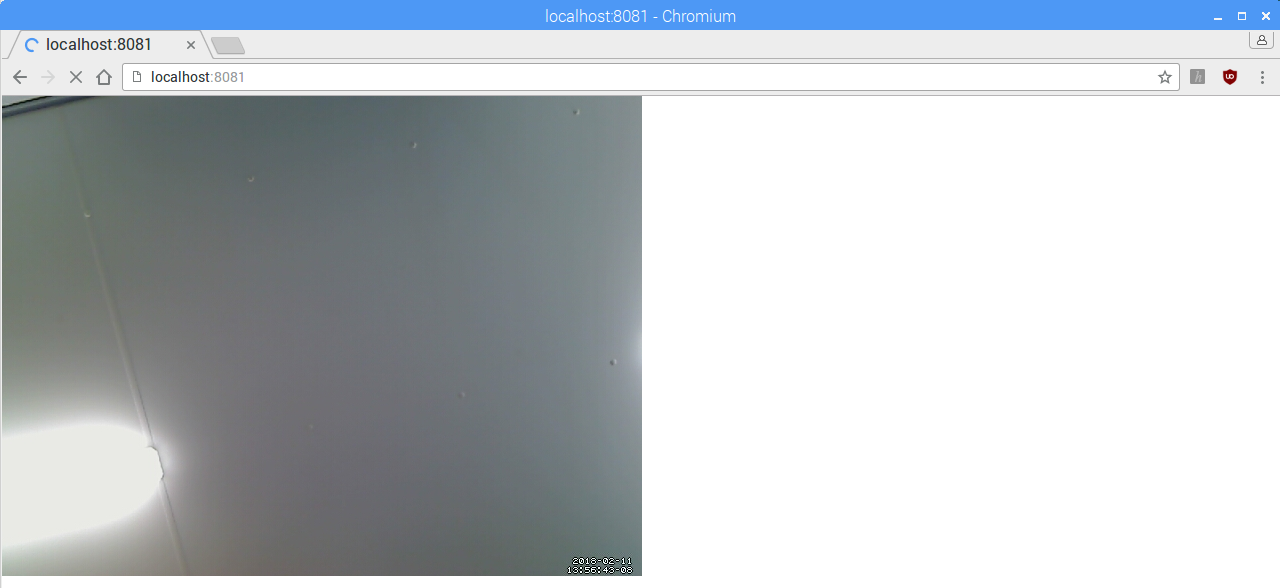
FLAWS OF THIS PROGRAM
it's too much slow and sometimes doesn't work and also if change the dimensions then it will be much slower and you can't be recording video or take a photo so it all up to you if want to use it.one of the flaws of the program: as you see in the photo below the camera not connecting because too many reasons it could be a low power supply or the camera not synchronize with your raspberry pi or there is more than one user open the browser in same time.
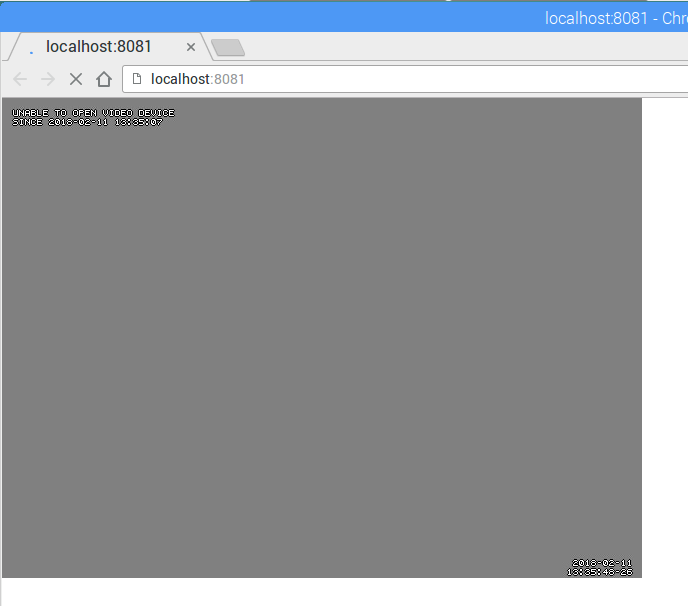 all these problems required for booting the raspberry pi so if choose this program for security camera you must think about how to restart the board when it's necessary.
RPi Cam Web Interface
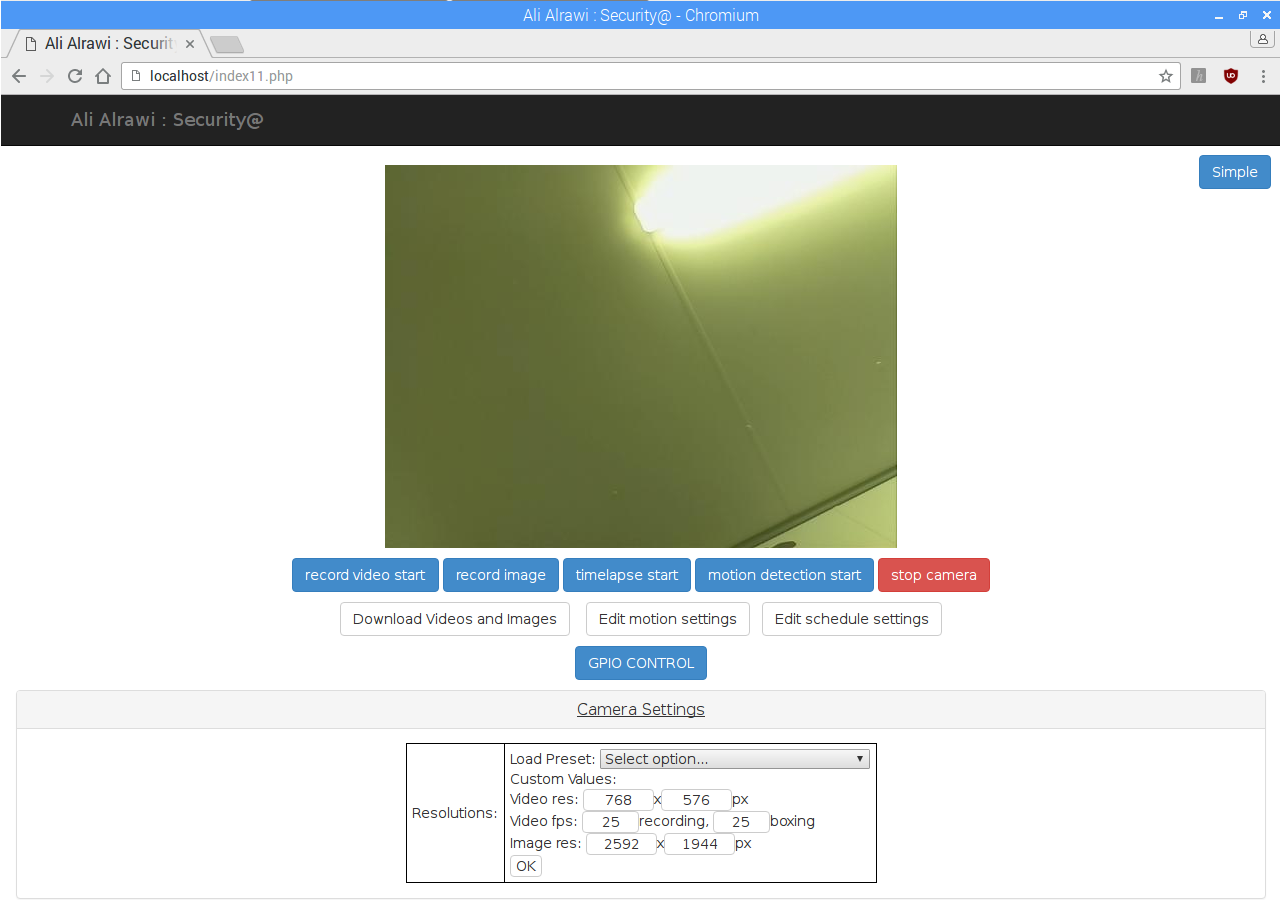
I think it's the most powerful and flexible program for IP camera and not just that it uses the Camera module of the raspberry pi so that means it can provide a high video resolution and there is also another features like recording video and take a photo then download it and more..installation
there is two waysThe first option ,download it derelict from here and extract in your raspberry pi
RPi Cam Web Interface
The second option which is my favorite open the terminal and write in
git clone https://github.com/silvanmelchior/RPi_Cam_Web_Interface.git
cd RPi_Cam_Web_Interface
./install.sh
after finishing from the installation write the command./RPi_Cam_Web_Interface_Installer.sh
this command it will be activate the user interface installer like the photo below first install Apache web server or Nginx not both of them , I use Apache because it's easy and powered by a large group of programmers.
after that go to the third option the configure you will see a list of options.

- update for updteing the program packages.
- upgrade for installing a new package for the program.
- apache_security to make a password for the IP camera.
- apache_port to choose which port you want the camera.
- autostart to activate the program automatically when the raspberry boot up.
- camera if you forget to activated the camera module then you can do it from this option.
- storage you can choose the folder which all the photos and video save in it.
- backup_restore make a save copy if some folder you choose it, in any case, something goes wrong.
- debug in general it's not so necessary.
open your browser and write localhost or your raspberry pi ip and you will see the layout of the camera module.
Note: I made some adjustment in the layout some it's not the same main page of the program.